
We're an affiliate
We hope you love the products we recommend! Just so you know, we may collect a share of sales or other compensation from the links on this page. Thank you if you use our links, we really appreciate it!
The majority of our camper van conversion wall attachments were achieved through the use of plusnuts. This handy hardware eliminates the need to drill holes into the van walls by allowing us to use the existing holes in the van walls as super strong points of attachment.
Plusnuts (aka “pre-bulbed cross nuts” or “multi-grip insert”) are designed so during installation the body collapses on the back side which grips the inside of the mounting surface.. They are useful because they can be installed into a thin metal surface, blind (i.e. with access from only one side). The slotted shank spreads and forms large flaps (in the shape of a “plus”) to evenly distribute working loads over a large area.
Translation: A plusnut is a fastener that you secure into an existing hole. A tool is used to expand it, securing it into place. The Plusnut has a threaded hole that allows for the insertion of a bolt along with a washer.
Benefits of Plusnuts
Plusnuts are a much stronger attachment system than screws through the van metal. We wouldn’t trust driving around with a heavy item like a fully stocked 4-foot long upper cabinet held in with just screws through sheet metal.
Why not simply fasten with screws into the van walls?
- The holes that already come in the van are finished by the manufacturer. This means that all surfaces are painted, preventing rust. When you screw directly into your van wall, you expose raw metal, which can attract the growth of rust.
- Drilling creates metal debris, attracting rust.
- In terms of strength, Plusnuts have a high “pull out strength” (1,215 pounds), and so offer a more secure attachment than simply screwing into the van walls (less than 100 pounds).

How to Install a Plusnut
By far the best installation method is the investment in an installation tool, available online from McMaster Carr. Select the tool for the plusnut size you choose in the next section (for most with 1/4-20 plusnuts it’s part #96349A305). We made a demonstration video on how a Plusnut is installed using the tool:
You will operate the installation tool with an adjustable wrench and an 11/16” socket (double check your socket set because this is a large size socket that not every socket set includes).
Before touching your van, we highly recommended practicing the installation of a few plusnuts on scrap metal or plywood (up to ¼” thickness). Here’s what we learned: don’t over tighten the plusnut. It needs to be firm and snug, but don’t torque with absolute full strength.
If a plusnut is over tightened, either during installation or when a bolt is being inserted, the expanded bulb can lose its compression. It will then just spin non-stop (it’s not supposed to spin).
It happened to us a couple times early on, and with great frustration we grabbed it with needle nose vice grip pliers and drilled it out (it wasn’t pretty).
Side note: Another installation tool some recommended is the Astro Pneumatic 1450. but we read of people having difficulties with this tool that we never had with the McMaster tool. It’s also more expensive..
You can also DIY an installation tool using wrenches and some nuts, but as Faroutride.com said, “Trust us, we installed all our plusnuts without a tool and we wish we invested in the proper tool.”
Selecting the Correct Plusnut Size
There are three characteristics of plusnuts to define before purchasing:
- Hole Diameter: The diameter of the hole the plusnut is inserted into. Look around a bare van.. there are holes in the metal everywhere, fill them with plusnuts! While plusnut specs have a tolerance of around 0.005″, or about 1/128″, they will still function in a very slightly oversized hole due to the large feet on the back.
- Grip: The thickness of the material the plusnut will be gripping. This is the thickness of the van’s metal.
- Thread: Diameter and threads per inch of the plusnut threading. You will need to use bolts and screws that match this threading.

What Plusnut Size Do You Need for Your Van?
- For the Ford Transit owner like us, you’re in luck. The 1/4-20 plusnuts fit perfectly in hundreds of existing holes all around the interior of the van.
- For the Ram Promaster, the 10-32 plusnuts fit in most of the holes. There are also hex holes that run along the van, these hex rivet nuts fit perfectly and are installed with the Astro Tool.
- If you’re a Mercedes Sprinter, or Anything Else owner, things are a little trickier. There are little to no adequate preexisting holes in the van. You’ll need to drill new holes and/or expand existing holes. Your best bet will also be the 1/4-20 plusnuts. More details in this forum thread.
You can now buy the 1/4-20 plusnuts for vans in packs of 25, packs of 50, and packs of 100. We used about 125 plusnuts in our high-roof extended length Transit.
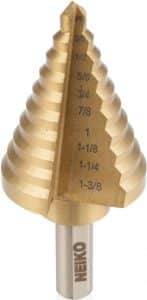
After creating an adequate hole, be sure to deburr the hole so the plusnut can seat on a flush surface, and paint the bare metal to avoid rust. Hole diameter is not critical (at least within 1/64″) given the sizeable feet on the plusnut. A step bit is the tool best made for this job.
STEP DRILL BIT, FOR ADEQUATE HOLES
Tips for Installing Plusnuts
Perhaps the trickiest aspect of plusnuts is accurately locating holes in the material you are going to be fastening to the wall (like the back of a cabinet). The holes in the material need to align perfectly to the plusnuts in the wall.
The most effective way is to:
- Screw short 1” bolts in the plusnut so the bolt heads are sitting flush against the plusnut
- Mark the bolt heads with a dry erase marker
- Press the cabinet backing against all the bolt heads (hold steady!) firmly at the same time
- Drill the holes with a drill bit the same diameter of the bolt. For our 1/4-20 plusnuts, this is a ¼” drill bit
We initially marked holes in the same way but using a hanger bolt instead of marked hex head bolt. The intention is that the sharp side of the hanger bolt makes a small indentation in the material.
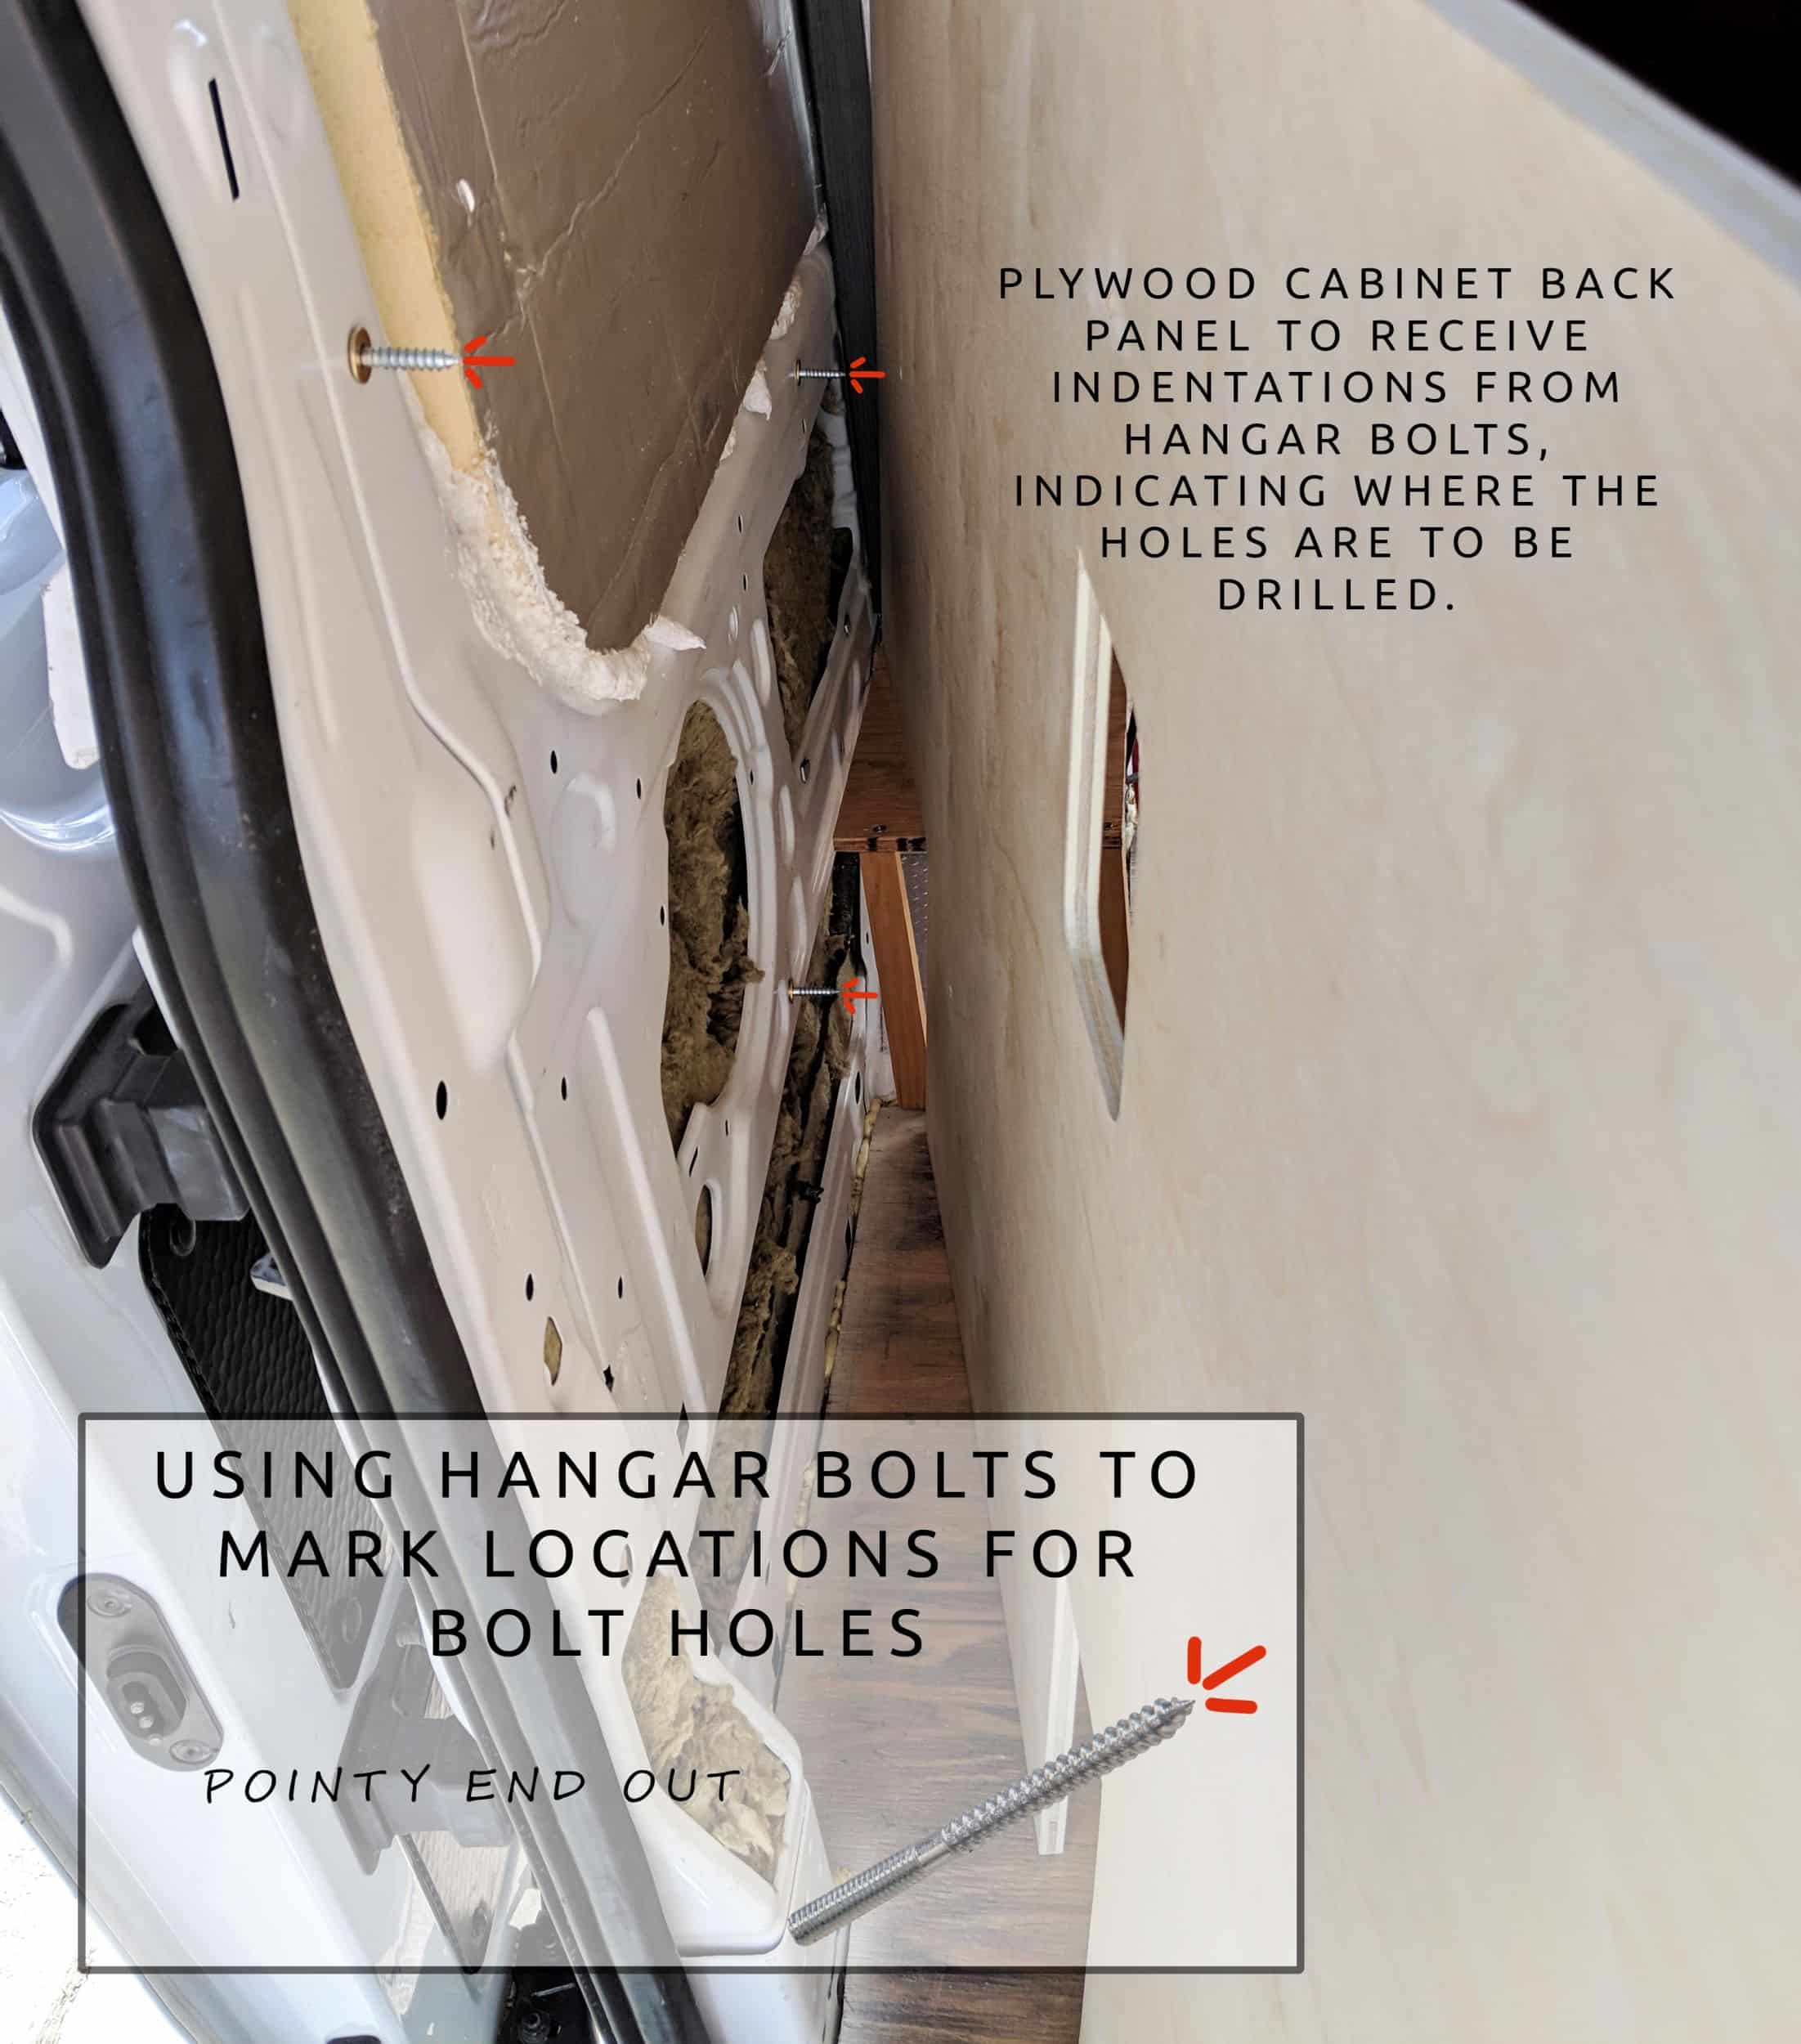
Unfortunately because a hanger bolt sticks about 1” out from the wall there is too much room for error in trying to press the material up against all hanger bolts at the same time. This led to too many instances of the holes not lining up perfectly with the plusnuts.
If your hole does not line up with the plusnut you may try to insert a bolt at a slight angle and hope the threading still bites. But don’t do this, because we can tell you that this torque on the plusnut can make the plusnut unseat from the metal and spin out. At that point we had a plusnut that would spin while we tried to unscrew the bolt. Fortunately we were able to wrench these out, then drill out the plusnut.
If your holes do not line up with the plusnuts, the best option (aside from re-doing with new material) is to enlarge the holes. Just know that this negatively impacts the holding power of the bolt.
What Fasteners to Use with Plusnuts
Bolts typically do not have threading along their entire shaft, and therefore we need to select the correct length bolt to use based on the thickness of the material we are fastening.
1.5” thick lumber took a 2.5” bolt and washer, so….
0.5” thick uses a 1.5” bolt
1/8” thick uses a 1” bolt
And of course, we need to select a bolt/machine screw that matches the threading of the plusnut. Most of us will use the 1/4-20 plusnut, which standards for a 1/4″ thick bolt shank with 24 threads per inch. We therefore need to buy 1/4-20 fasteners.
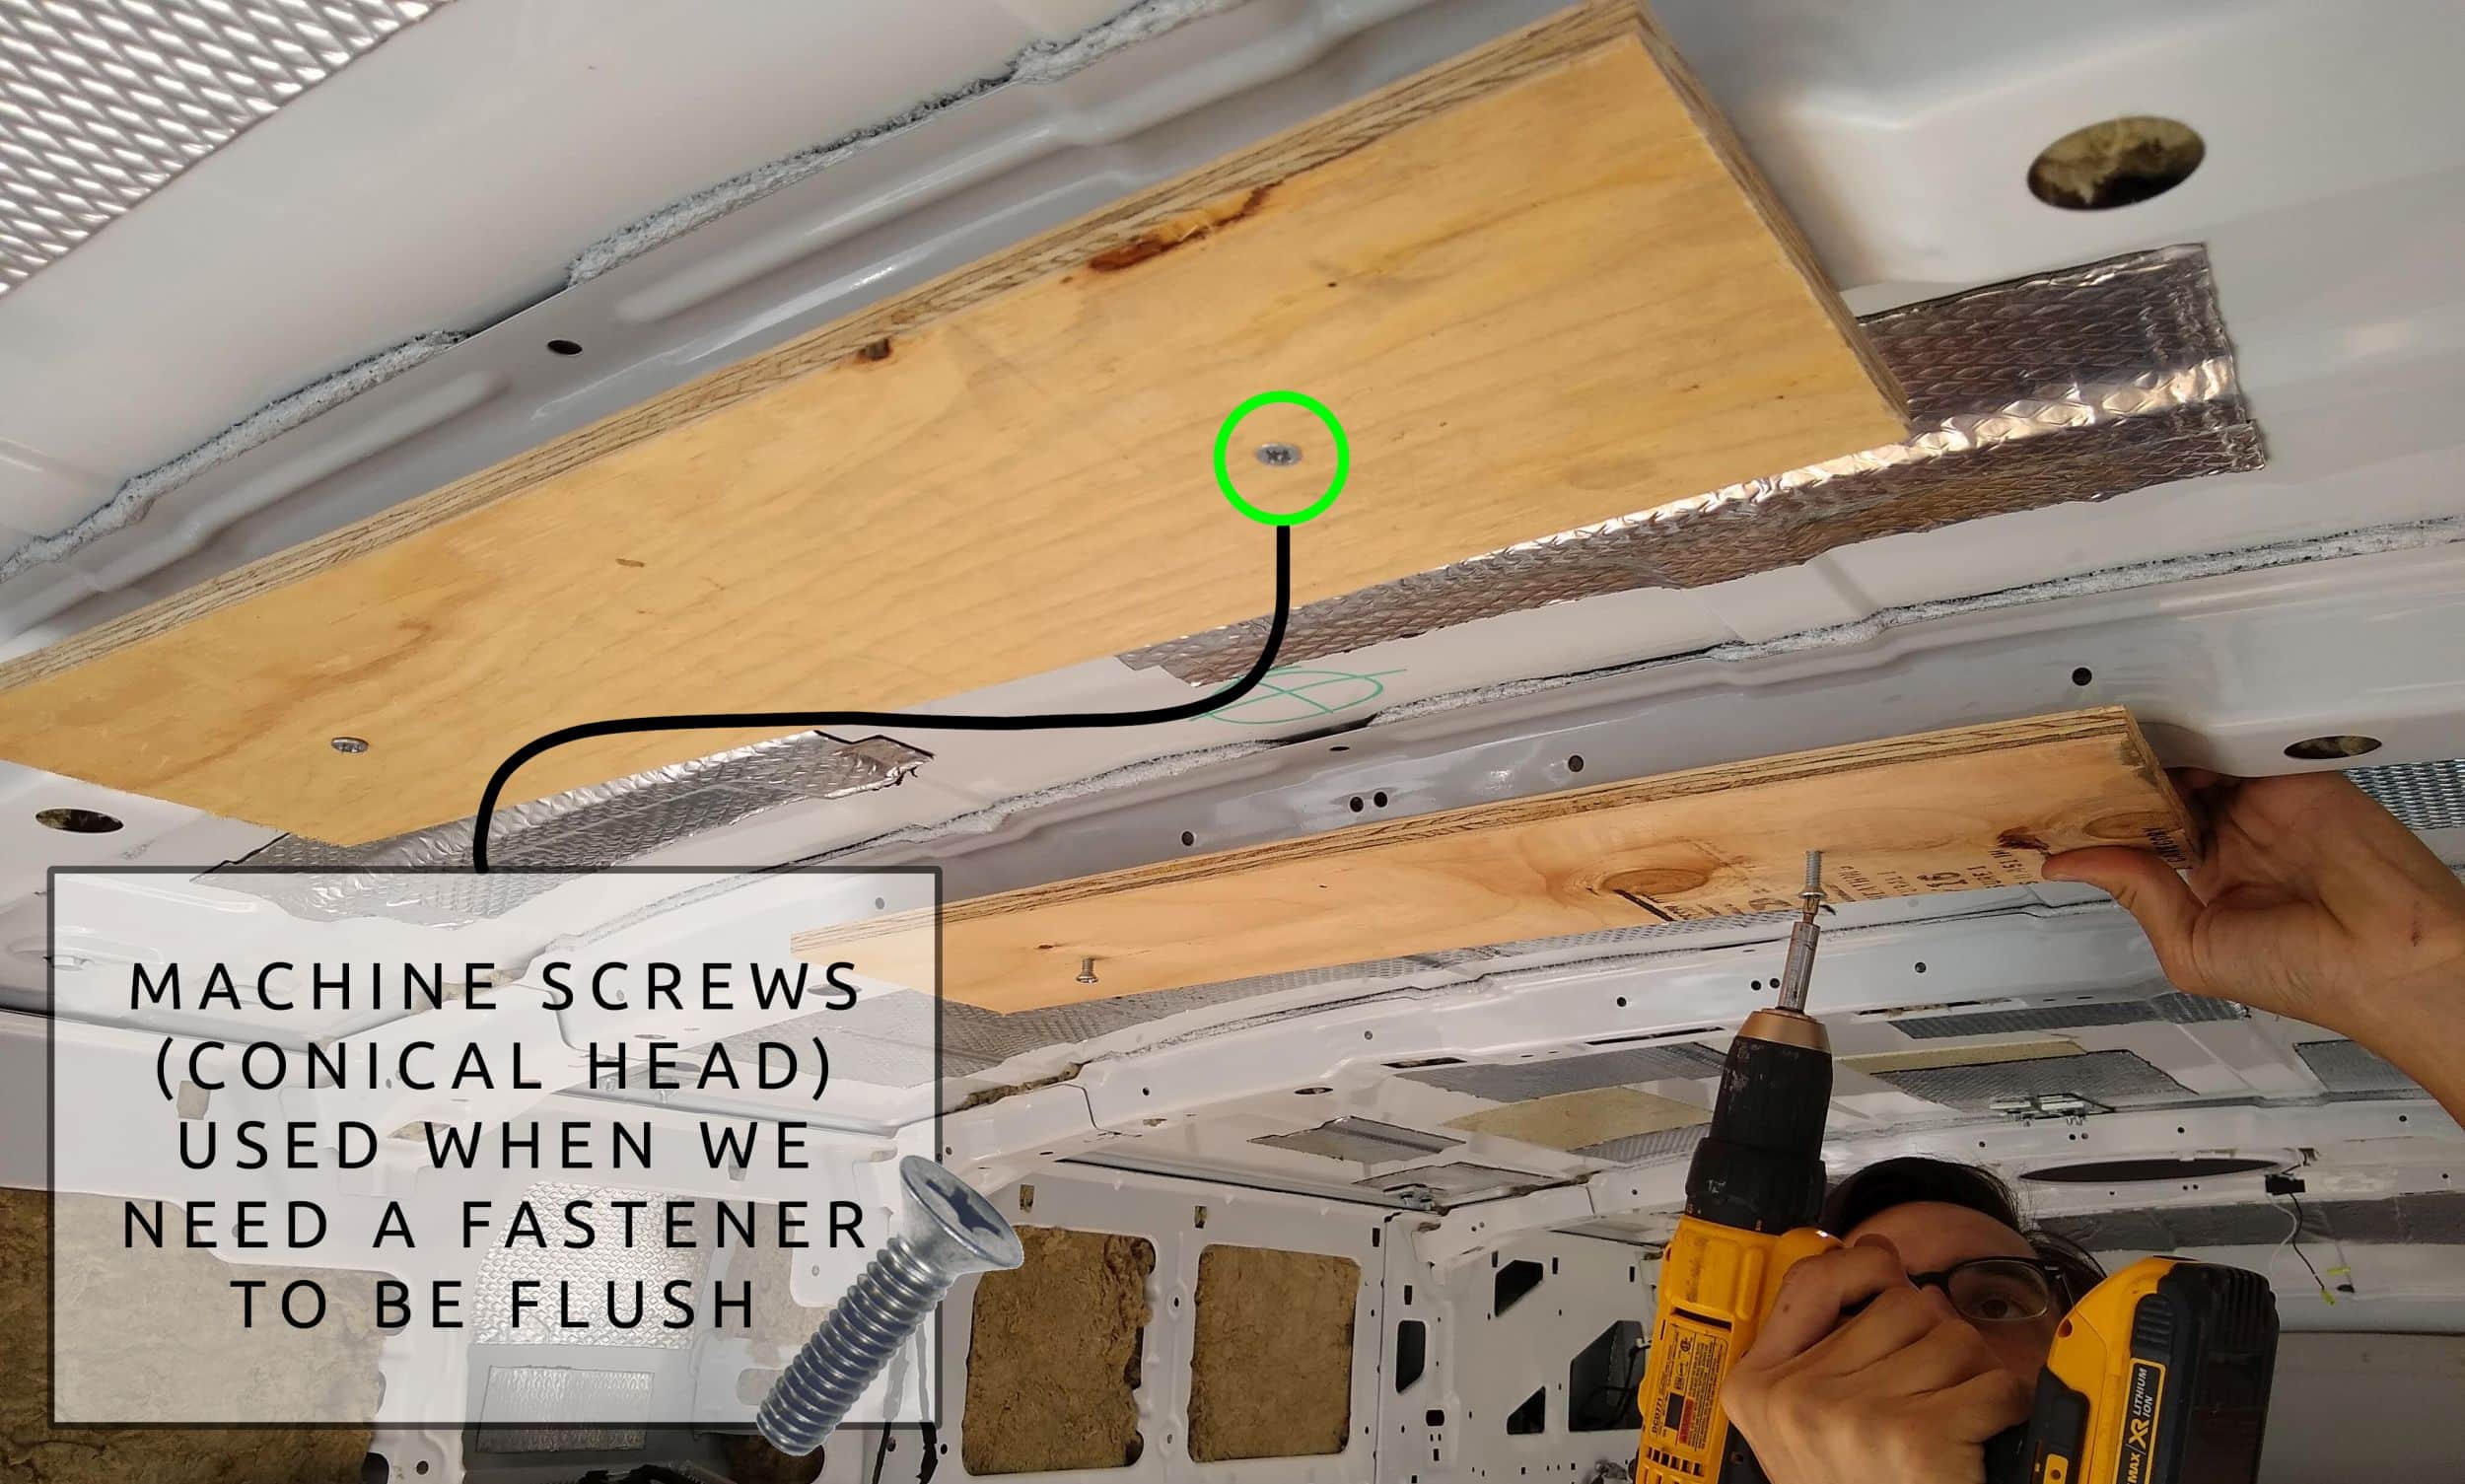
We mostly used hex bolts along with washers, but those sit on top of the fastened material, which gives them superior holding power. There were some instances where we wanted the fastener to sit flush with the material, like the furring strips for our ceilings panels, for which we used conical head machine screws.
Ready for more info?
Visit the Van Conversion Build GuideWe sincerely hope this information is helpful on your build journey!
This post contains affiliate links that may earn us a commission if a product is purchased. But, we always strive for the reuse and repurpose of materials – so we encourage searching for a local used option before buying from our links.


[…] to post a link here on my resources page. I invite you to visit their site — check out their comprehensive post about plusnuts, for example — and see if the information they’ve developed for their 2017 Ford Transit […]