
We're an affiliate
We hope you love the products we recommend! Just so you know, we may collect a share of sales or other compensation from the links on this page. Thank you if you use our links, we really appreciate it!
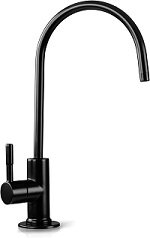
iSpring Contemporary Faucet
We used this faucet for our sink and are super happy with it. It’s modern looking and easy to install. It’s a faucet that’s traditionally for reverse osmosis systems so it only has one hose inlet. This is the easiest for our van where we don’t need a hot water hookup for the faucet.
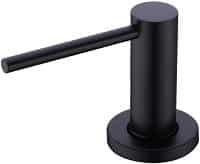
Black Contemporary Soap Dispenser
Our first month living in our van was without a soap dispenser. It quickly became first on our list of upgrades, since there was nowhere convenient to put soap while driving. This soap dispenser matches the faucet perfectly, and overhangs into the sink.

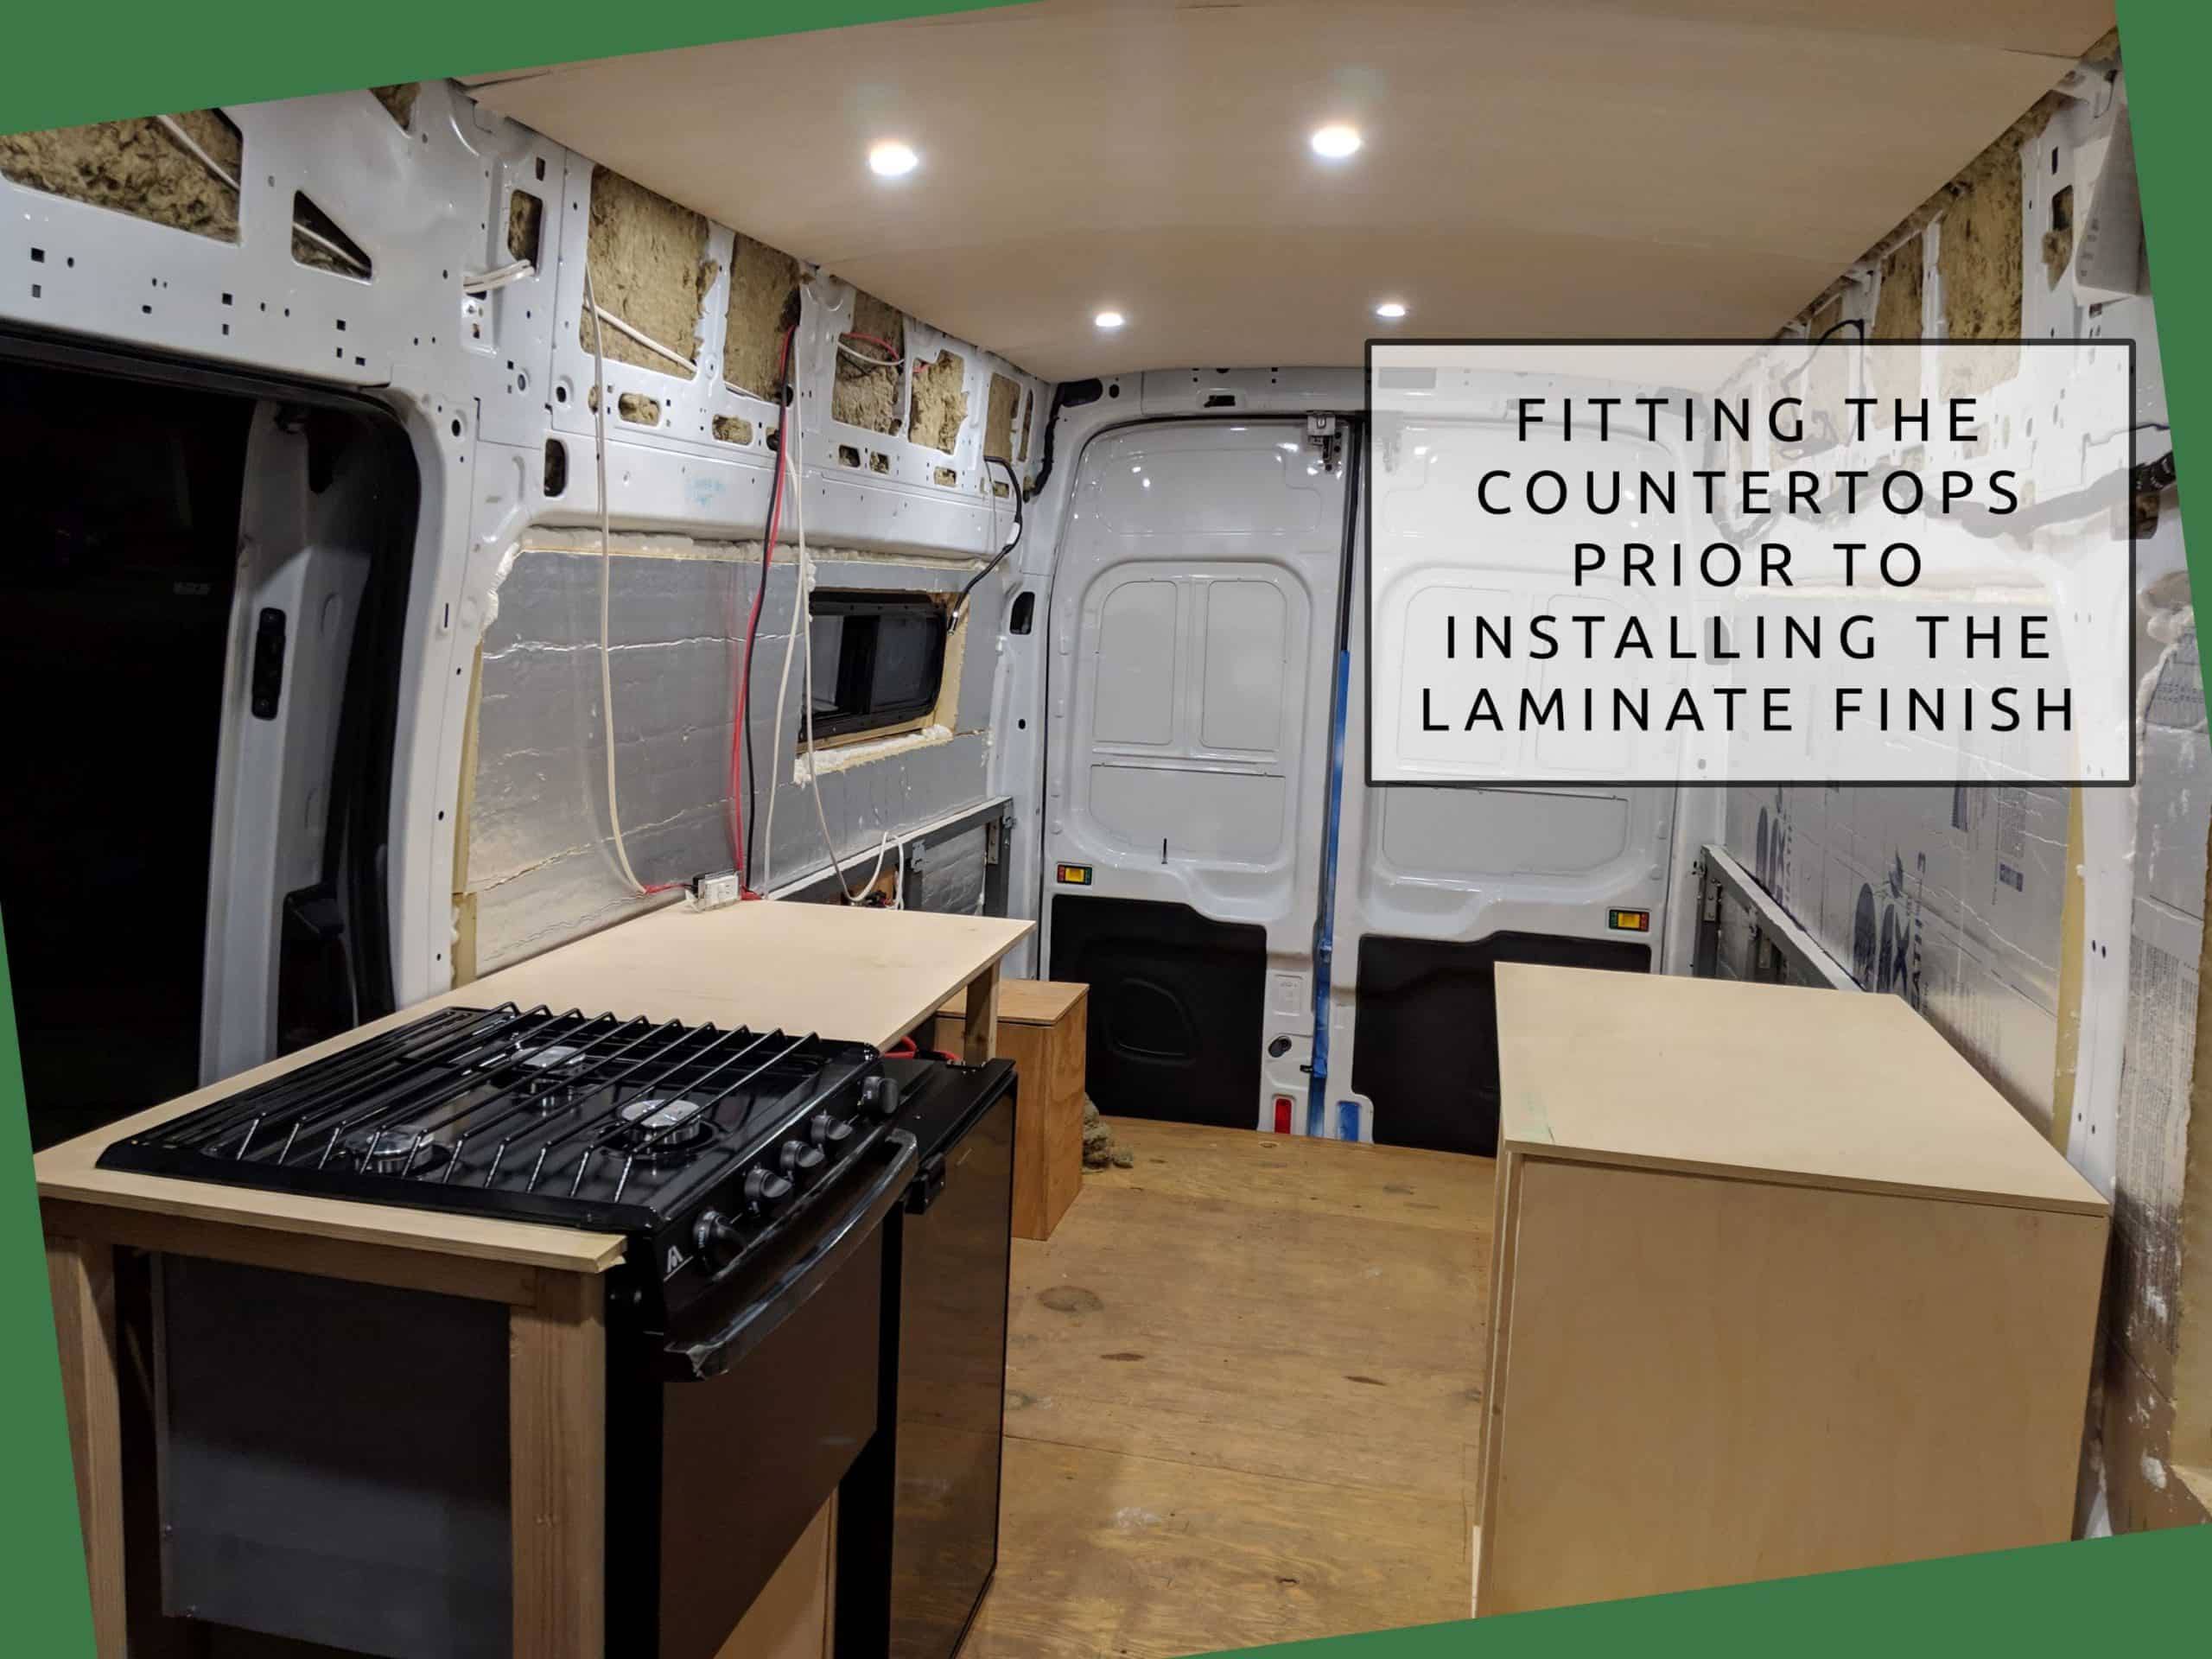
Cutting the Plywood for the Countertop
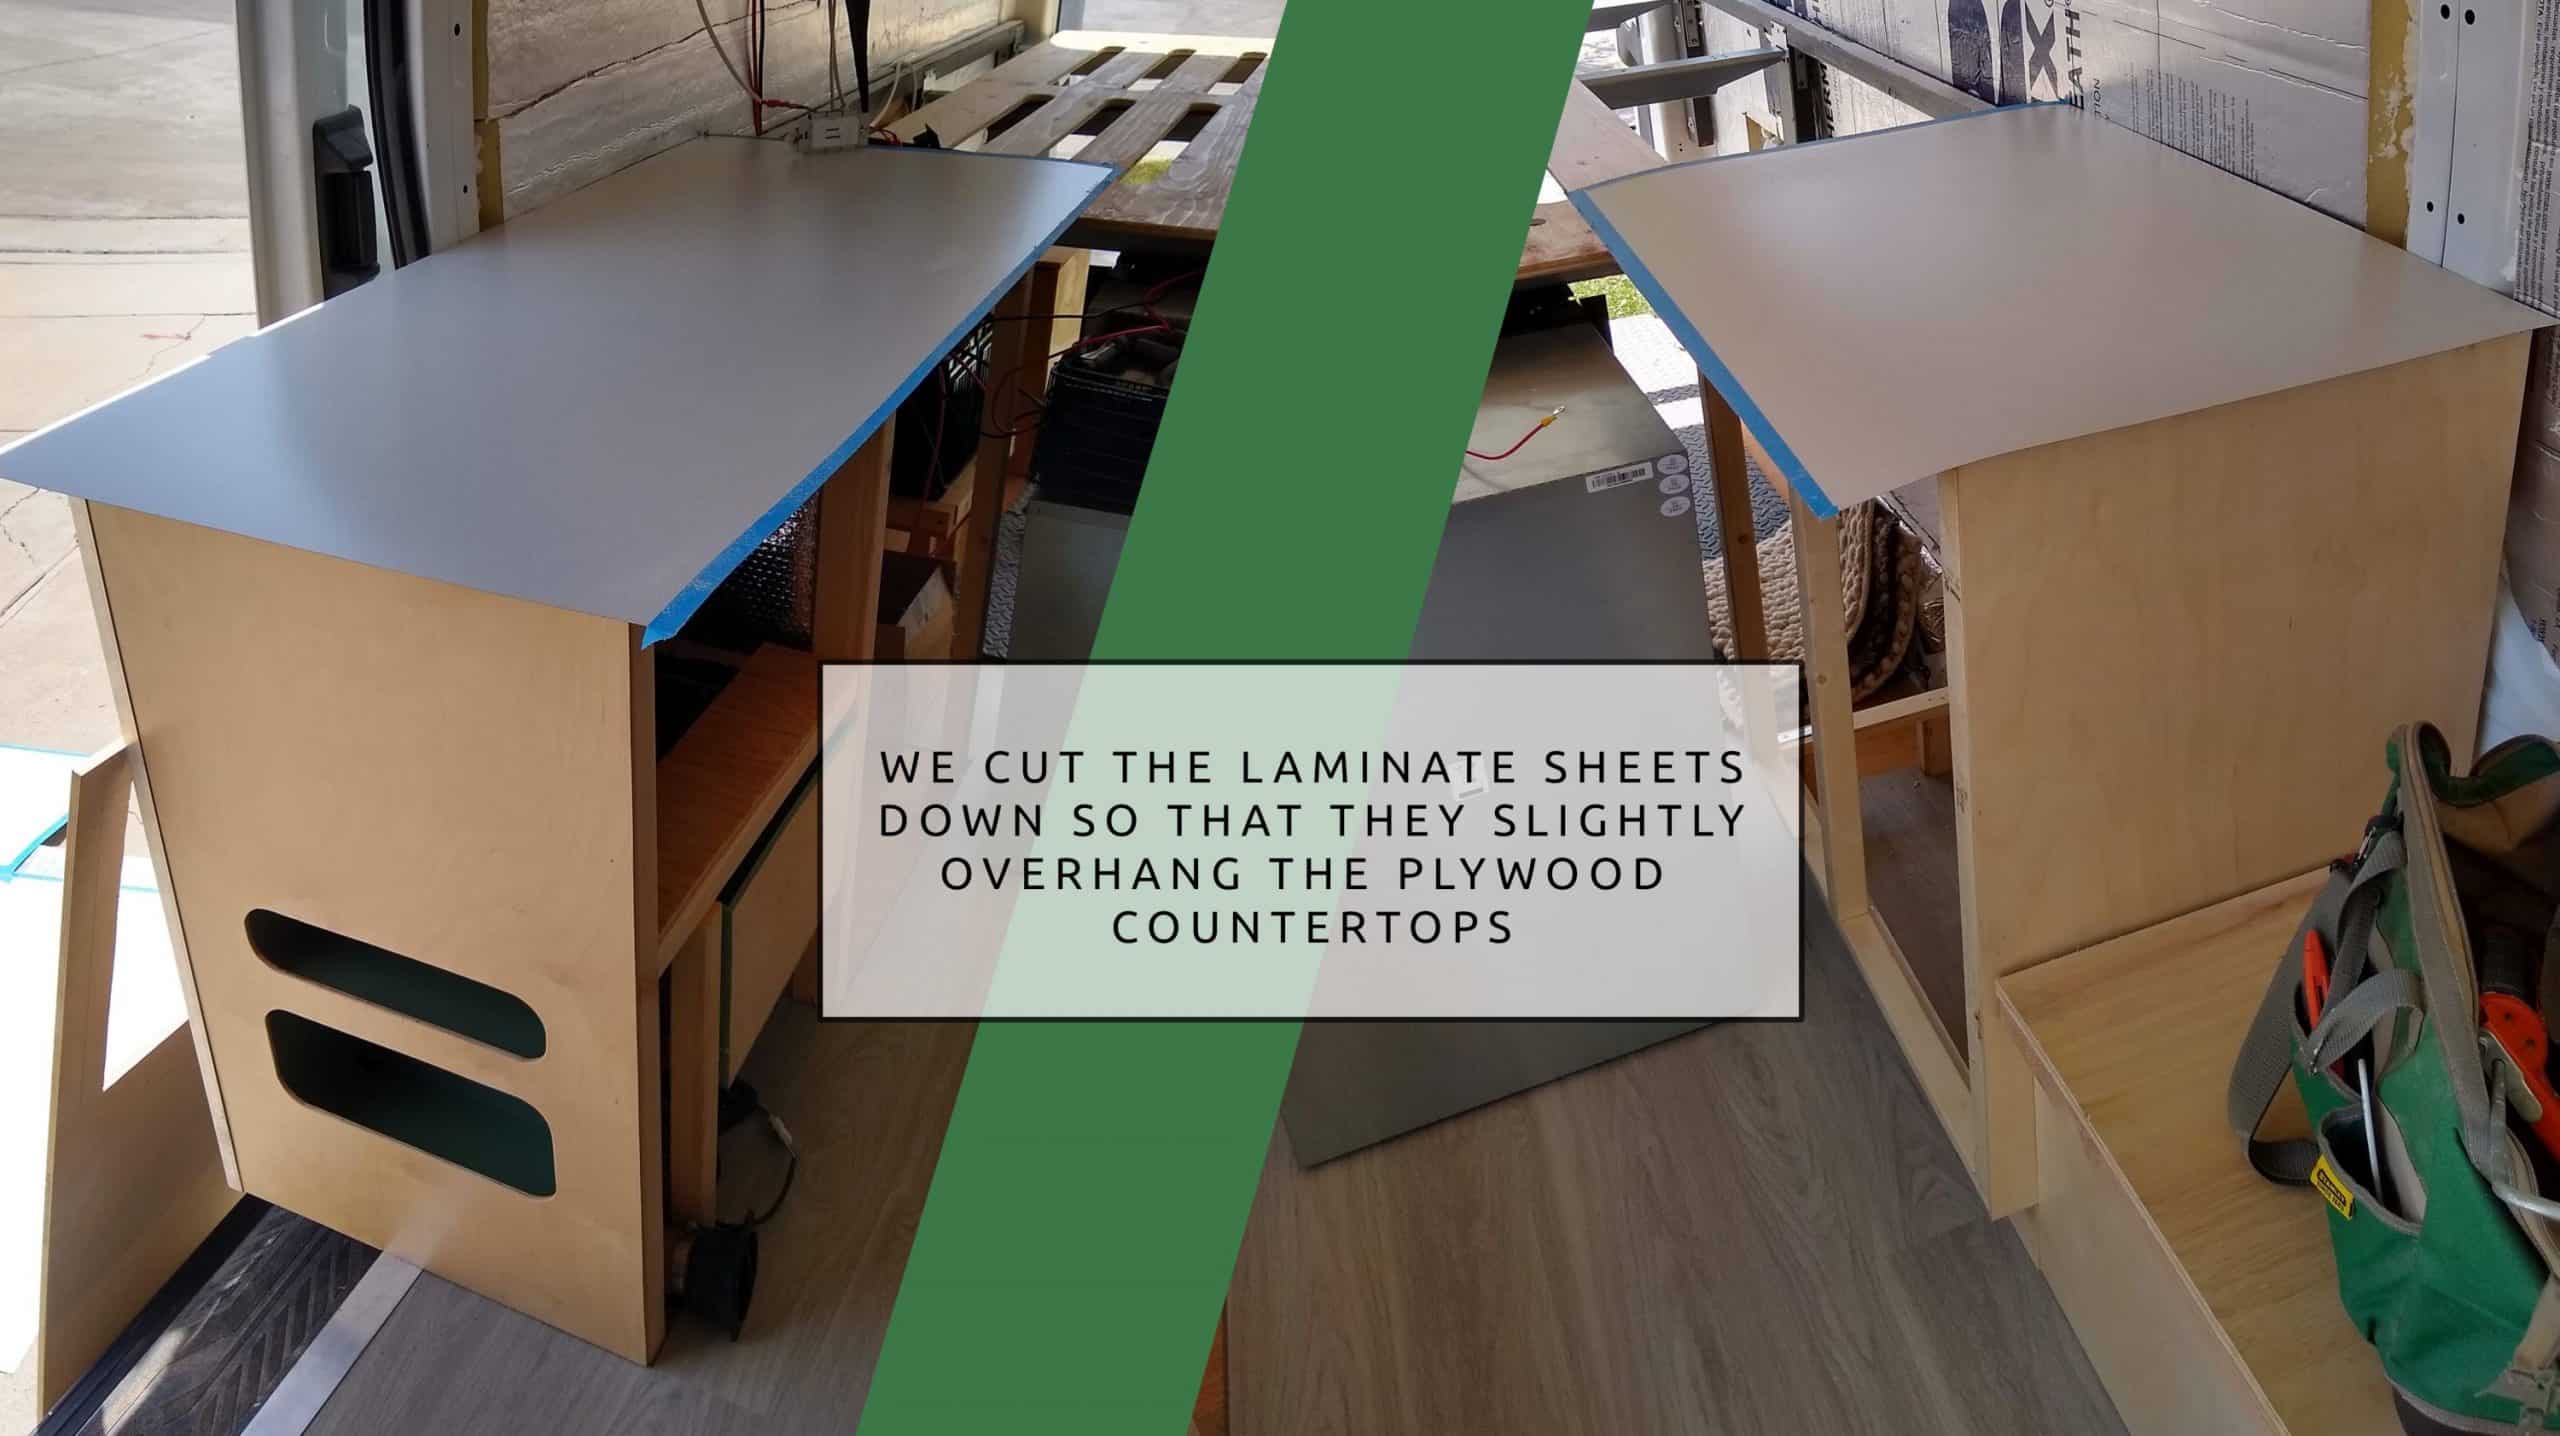
After building our cabinet frames, we took exact measurements of the countertop space, cut-out for the oven, and added 1/2″ inch for a countertop overhang.
Step one was to cut the shape of the countertops out of our plywood. The cutout for the stove was straight forward, being rectilinear.

Considering that this will be a tight space, we decided to round the countertop corners that are exposed, which we did with a jigsaw and some sanding. Prior to making the sink cutout and applying the laminate, we test fitted the countertops onto our cabinets:
CNC Machine Sink Countertop Cutout
If you have a top-mount sink, a rough cut with a jigsaw for the sink is adequate. We installed an undermount sink (mounted under the countertop instead of on top of the countertop),which means the cut would be visible so we wanted it perfect.
The best guarantee of a perfect cutout on our countertop was to make use of a CNC machine. This involved creating a computer drawing that the CNC machine would use to create the cut. We were lucky to have Nadia’s brother and dad helping to create this file and set up the machine for cutting.
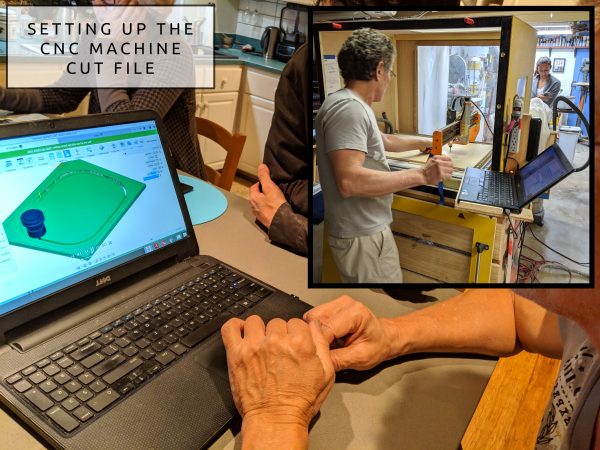
Here is a shot of the CNC machine in action. The spinning bit continues along the computer drawn path until it reaches the other side of the plywood, and we have a cutout:
Plastic Laminate Formica Countertop
The first step for installing the plastic laminate was to cut the large sheet to size. Luckily we didn’t have to be too precise, since we would be routing any overhanging plywood.
Attaching the laminate to the plywood was relatively straight forward but required some delicacy. We used a contact cement, and spread it out over both the plywood top and the back of the plastic laminate. It’s called cement for a reason – once the adhesive touches, it’s not going anywhere, so we had one shot to do it right!
We laid down wooden dowels onto the plywood in order to position the plastic laminate (any sort of spacer would work here). We removed the dowels one by one, pushing the laminate down as we went. Finally, we used a roller to apply pressure all over and seal the deal!

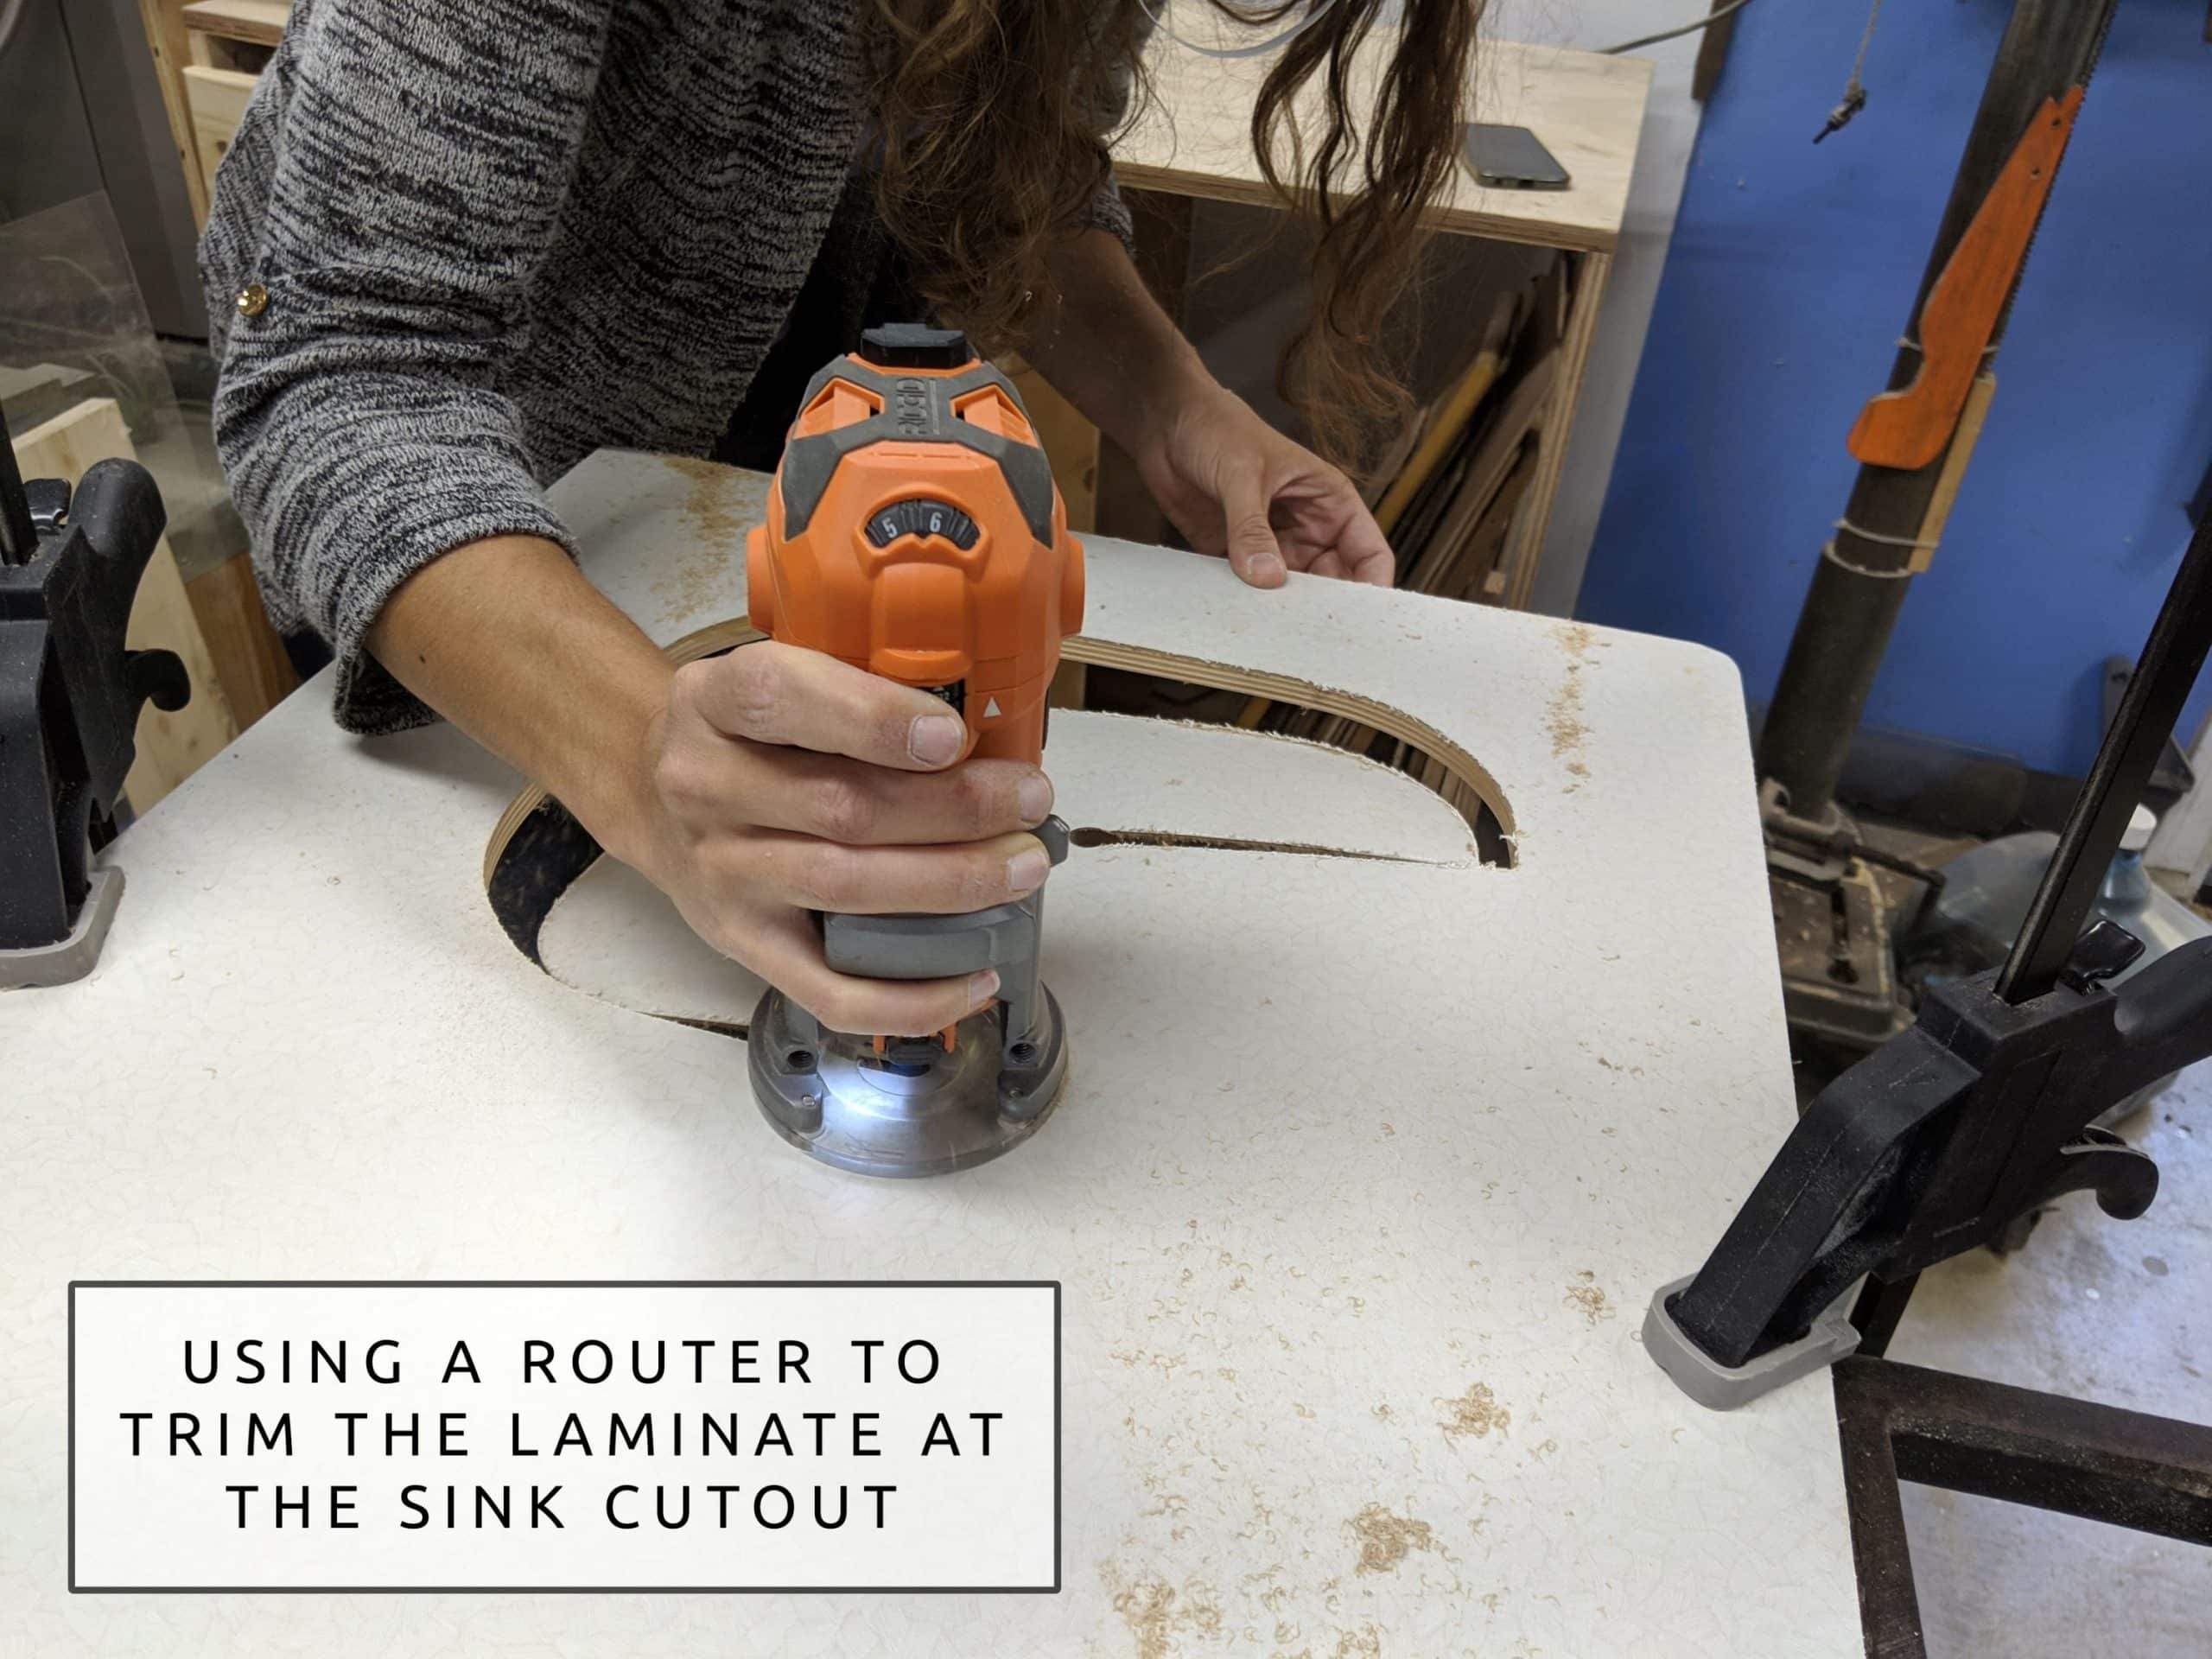
Once the adhesive was dry, we took the router with a flush trim bit to the edges for a perfect finish.
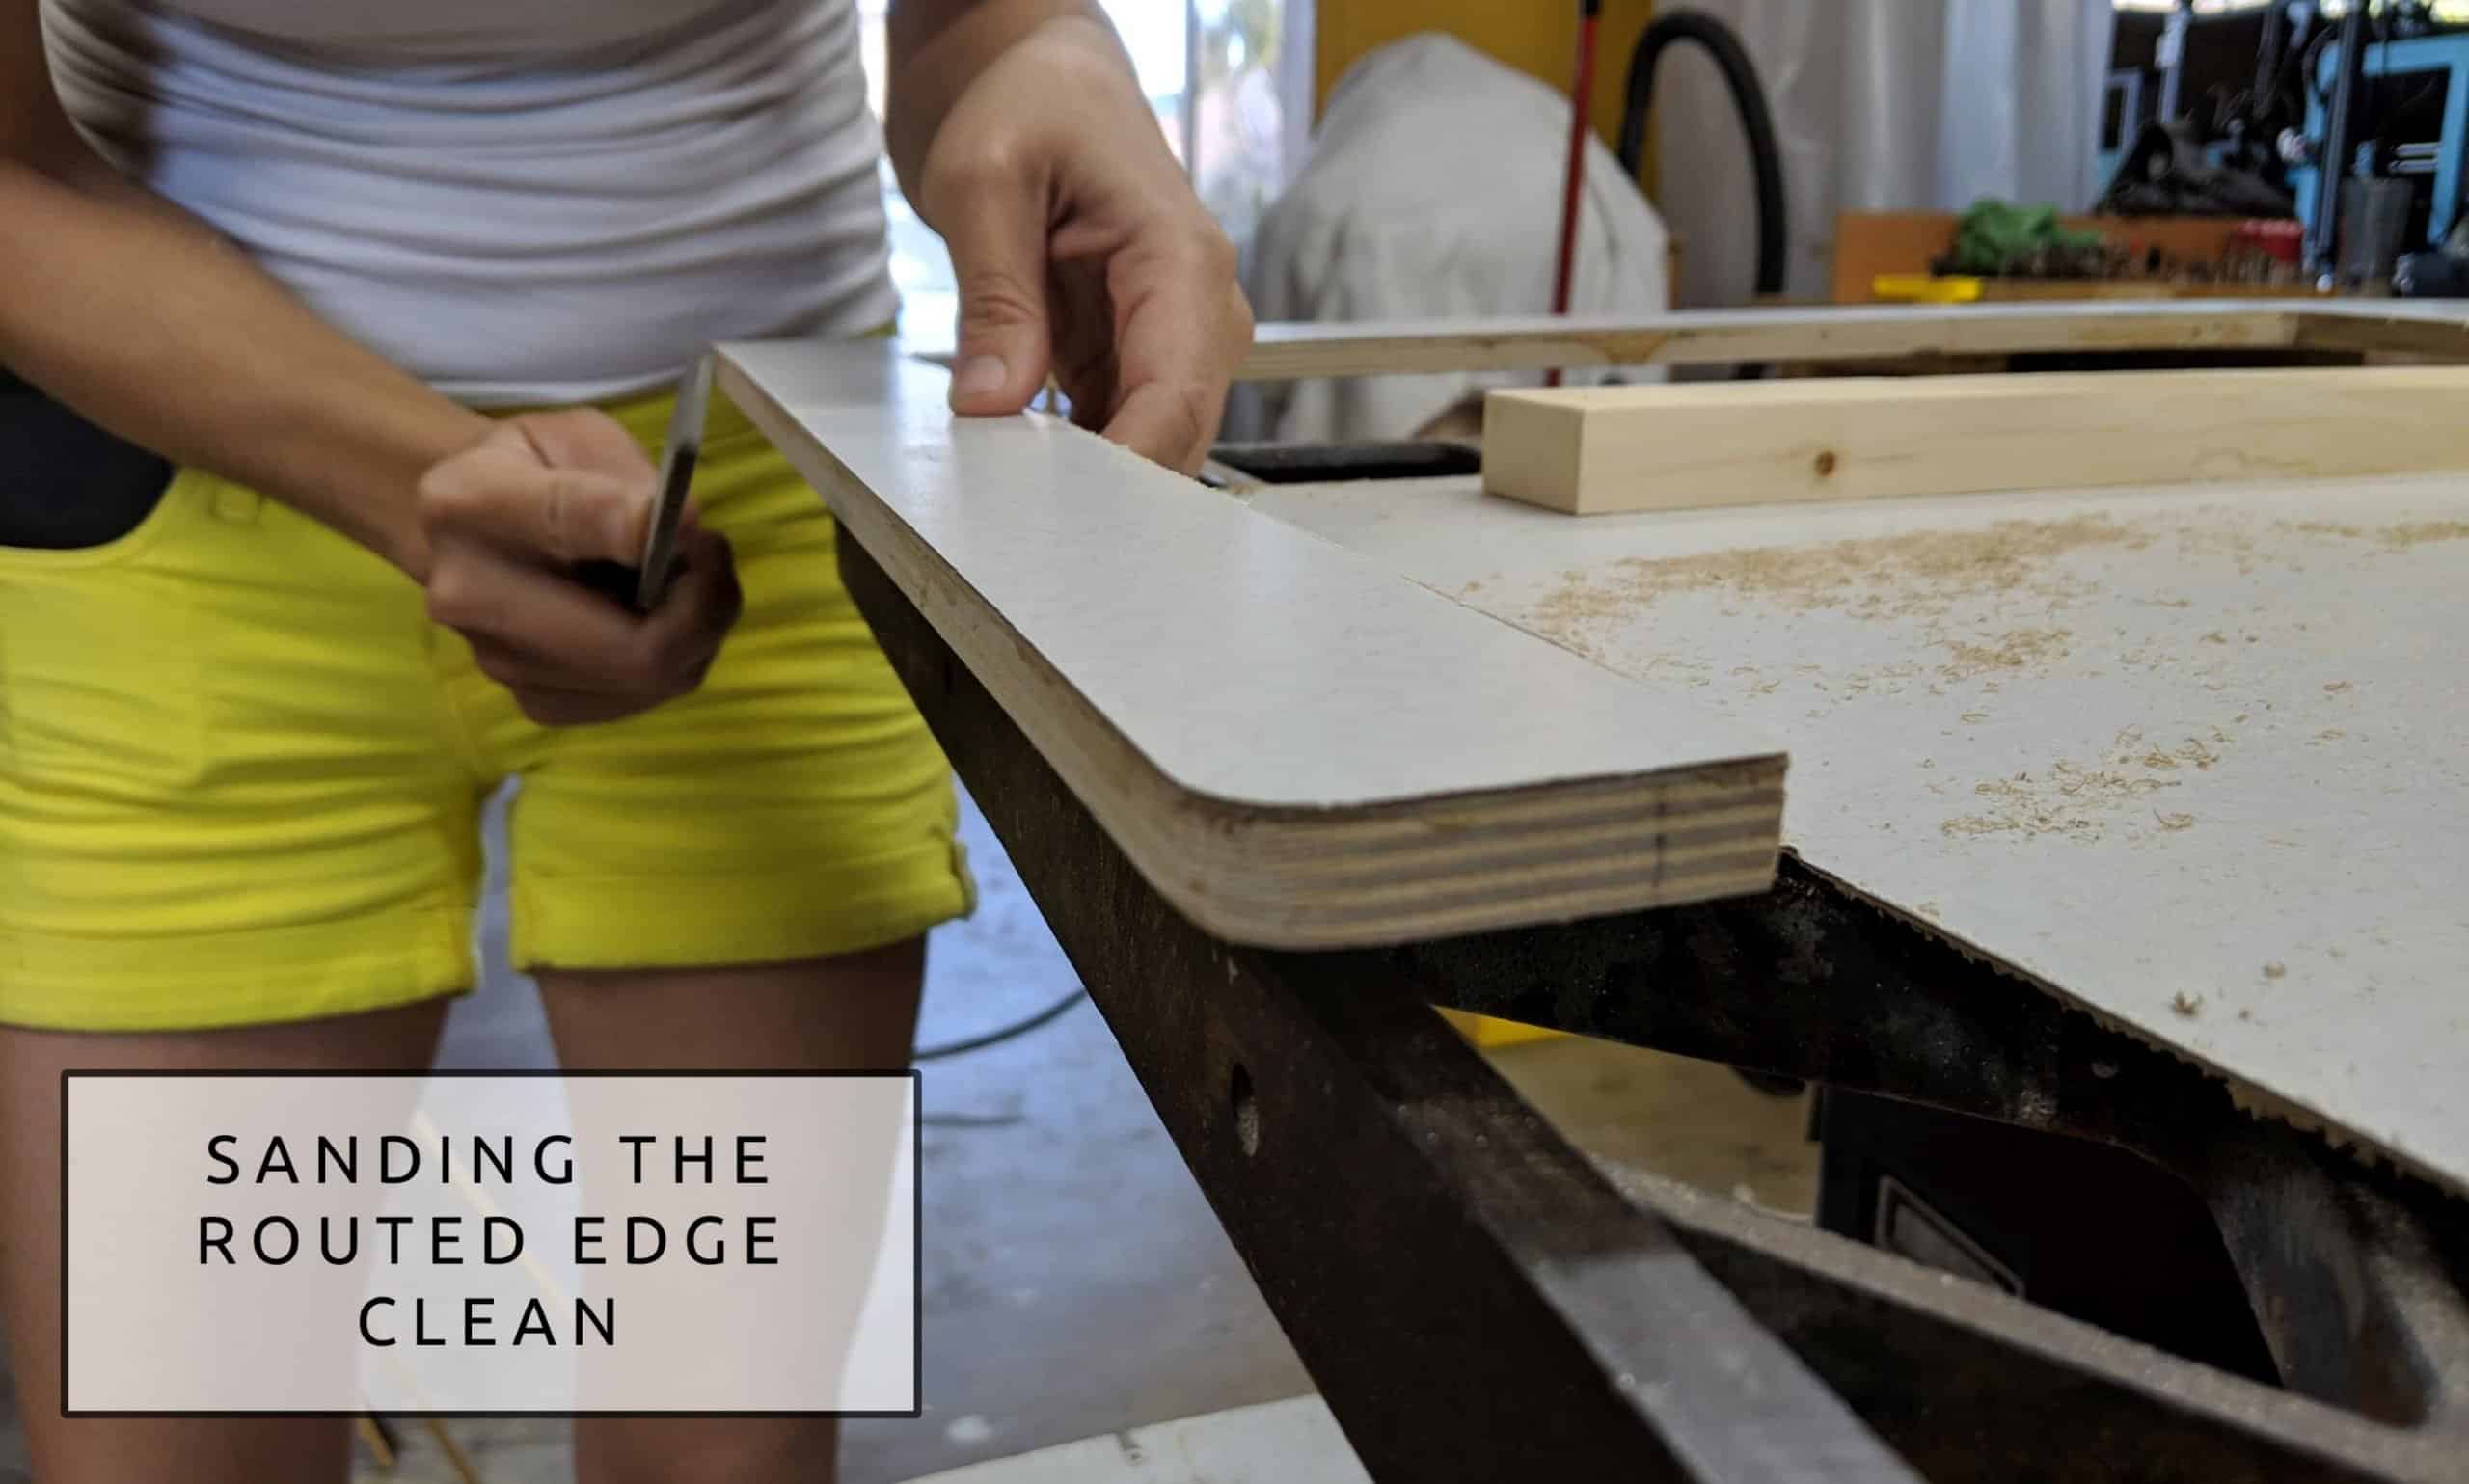
After routing, we did our best to sand the edges to get rid of any visible adhesive and roughness prior to applying polyurethane to seal the edge. One regret we have is not paying better attention to the contact cement overflow onto the edge of the countertop. There are some yellow stains on some spots that we could have avoided or sanded a little bit further!
Sealing the Sink Countertop Edge
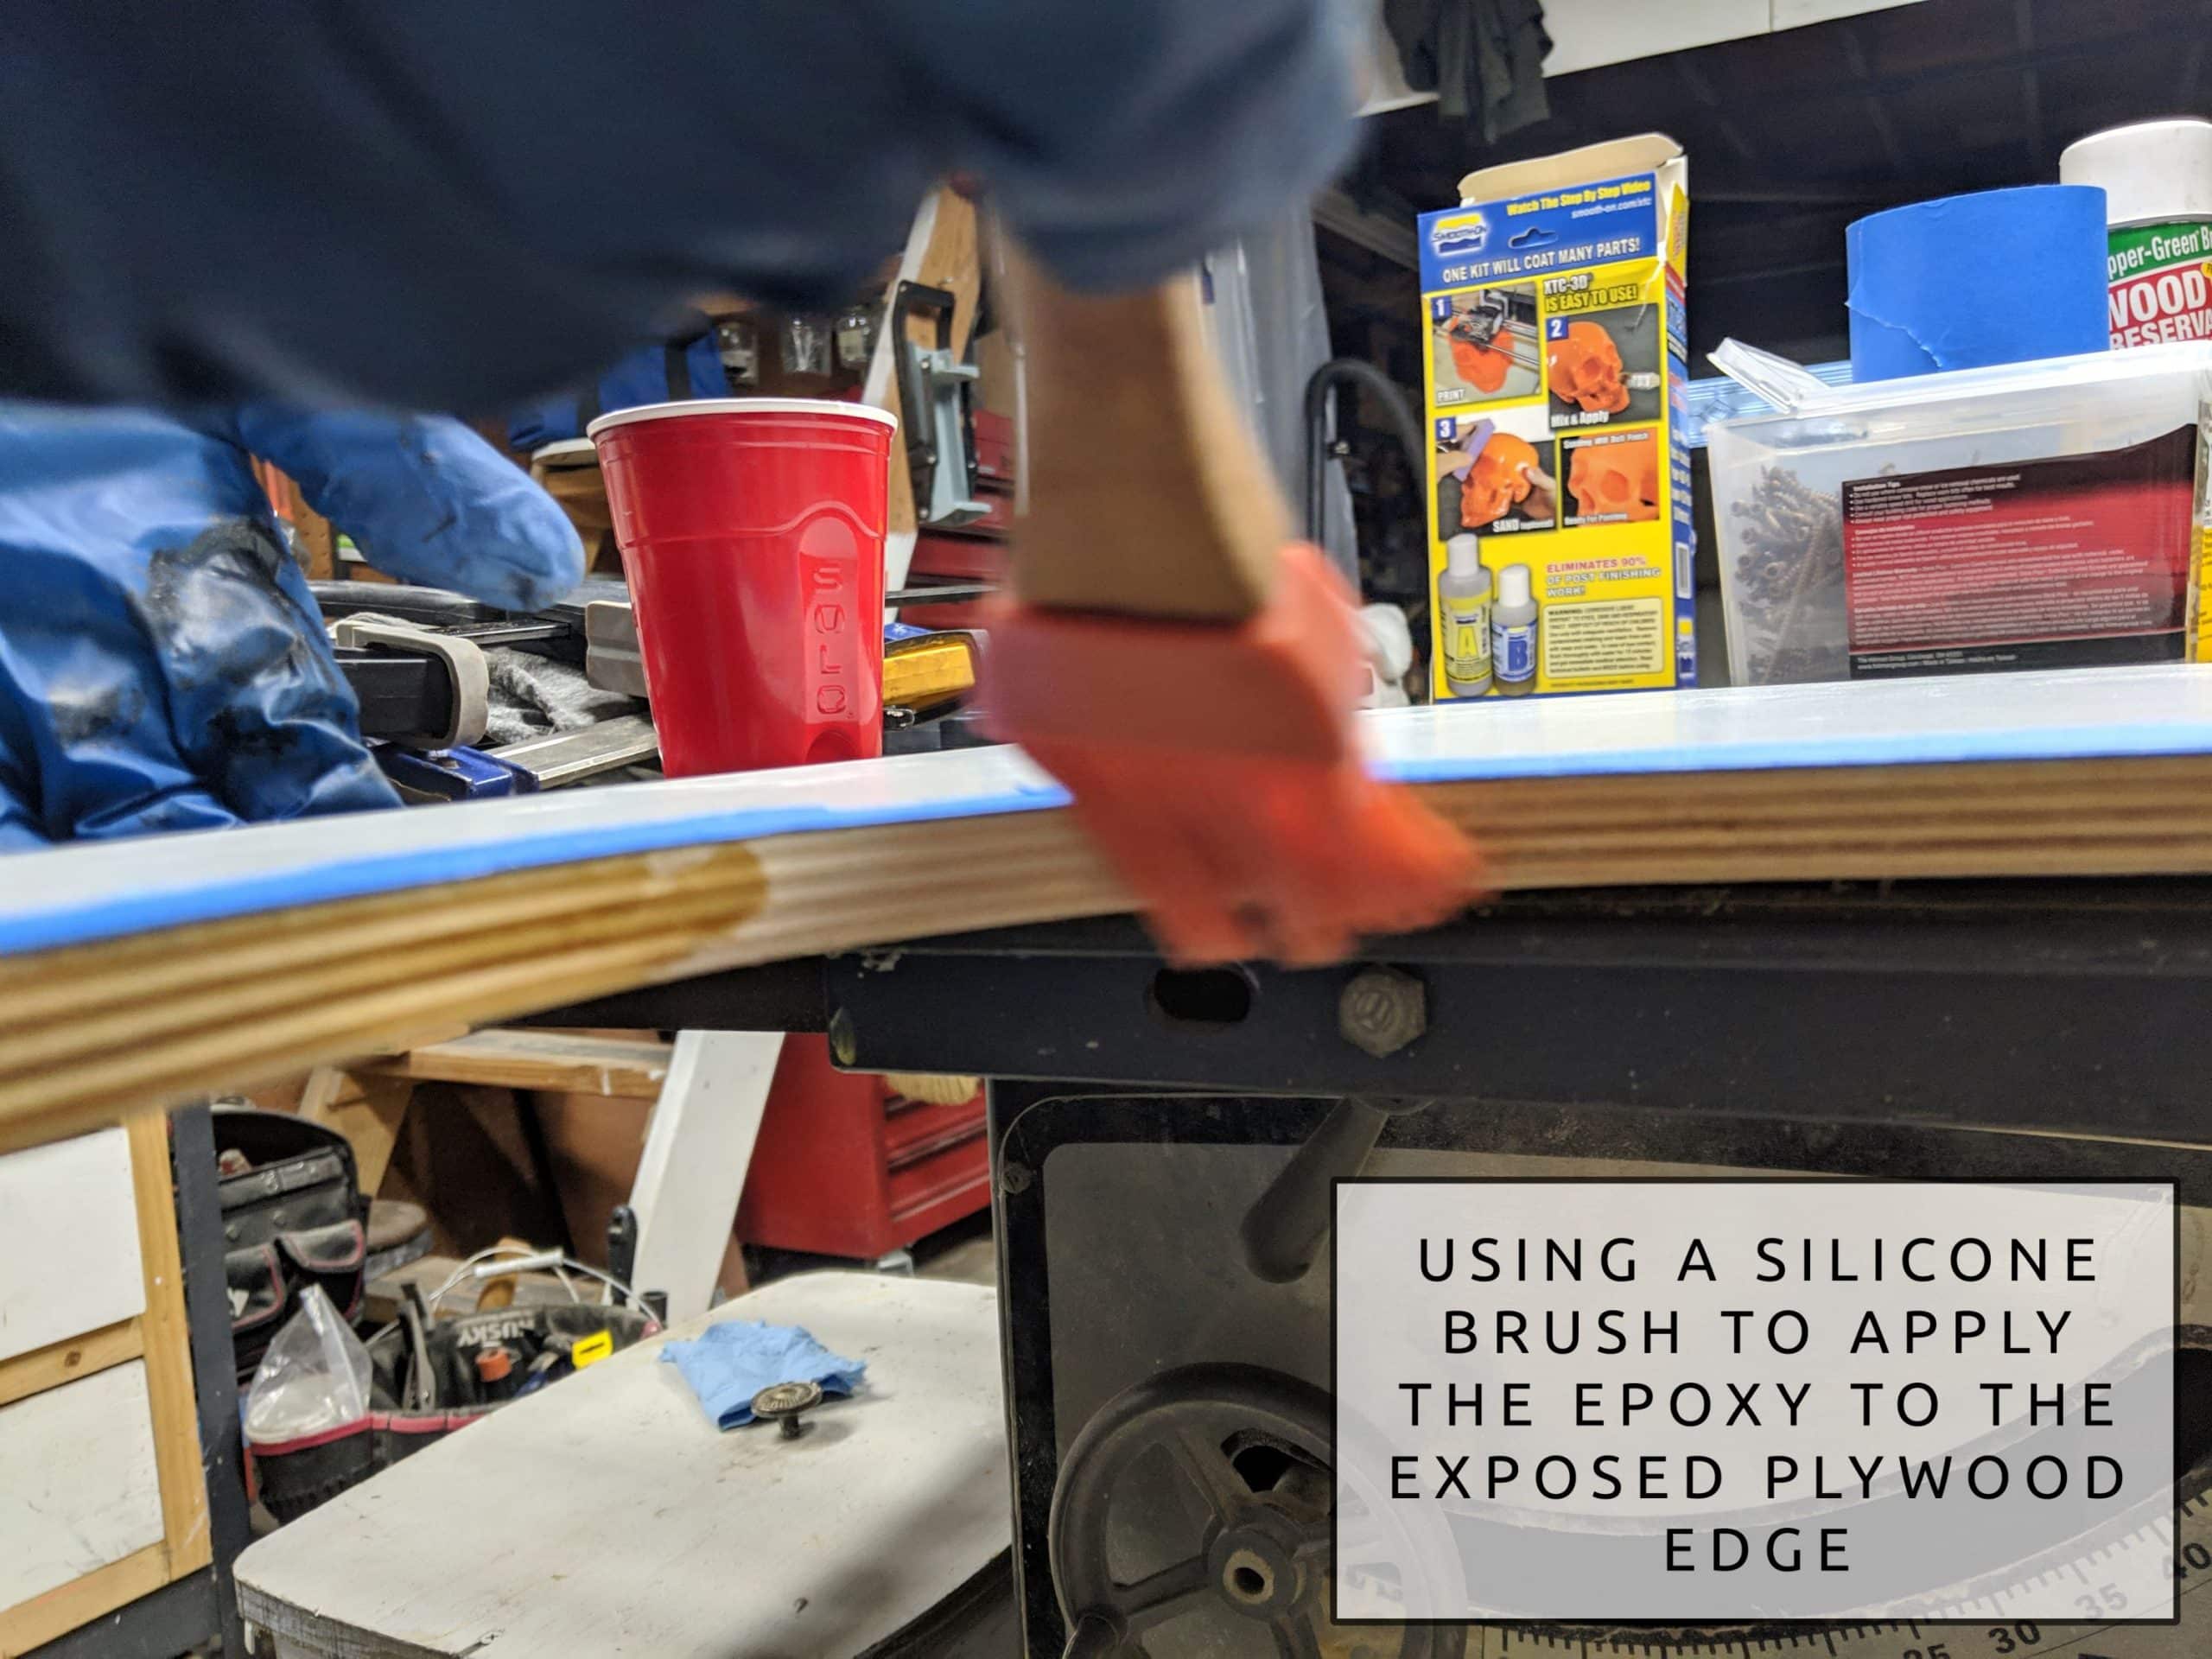
Though we used polyurethane to seal the majority of our exposed plywood countertop edges, we wanted something more heavy duty and waterproof at the sink, where water exposure is guaranteed. To do this, we used an epoxy resin (XTC-3D) on the plywood edge at the sink. We mounted the sink from below, and used clear caulking where the sink met the countertop to be extra safe.

Attaching the Countertops to the Cabinet Frame
We used 1” corner braces in order to secure the finished countertops to the cabinet frames. In terms of the order of operation, we installed the sink (a 14″ stainless steel sink we found at Goodwill for $10) while the countertop was still loose so that we could easily screw in the sink from the bottom. Be sure to size screws correctly, would hate for a long screw to poke up through the beautiful new countertop!
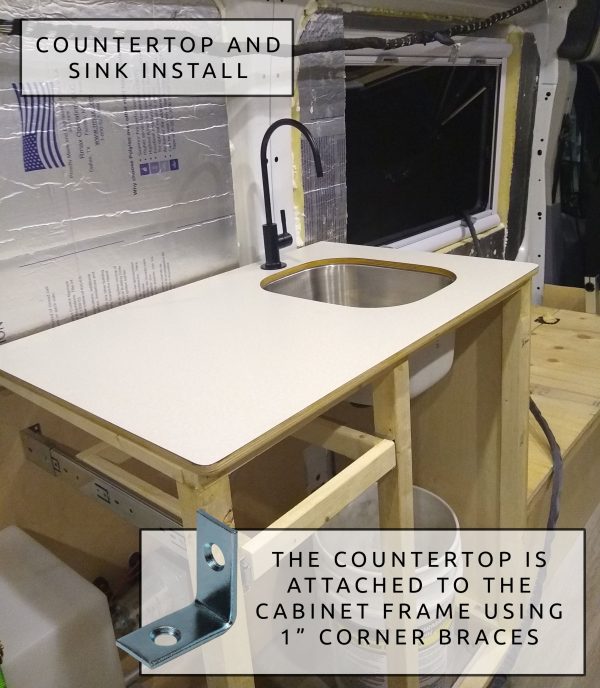
(This picture is after our faucet was installed. After living in the van for a month, we added the soap dispenser).
Ready for more info?
Visit the Van Conversion Build GuideWe sincerely hope this information is helpful on your build journey!
This post contains affiliate links that may earn us a commission if a product is purchased. But, we always strive for the reuse and repurpose of materials – so we encourage searching for a local used option before buying from our links.


Leave A Comment